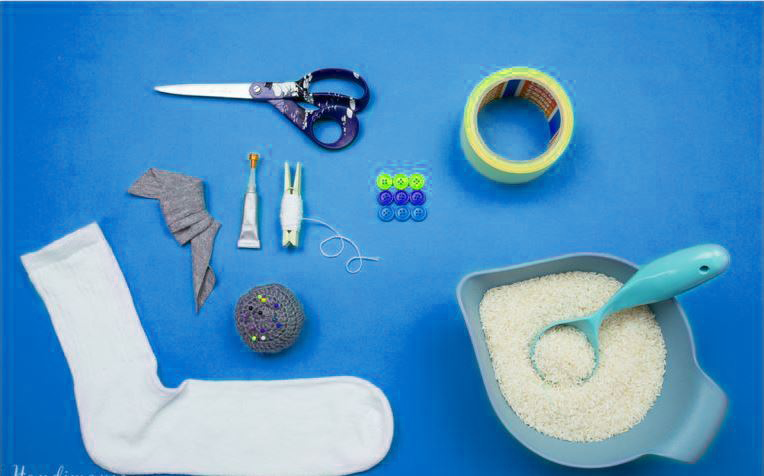
Towels

Instructions
Step 1:
Cut scrap fabric into 8 pieces by 2.5″ squares per hand towel.
Step 2:
Sew them together, then lay it on the towel to make sure it fits.
Step 3:
Iron sides in 1/4″ to the underside, like a seam. Lay patchwork onto the towel and pin it down.
Step 4:
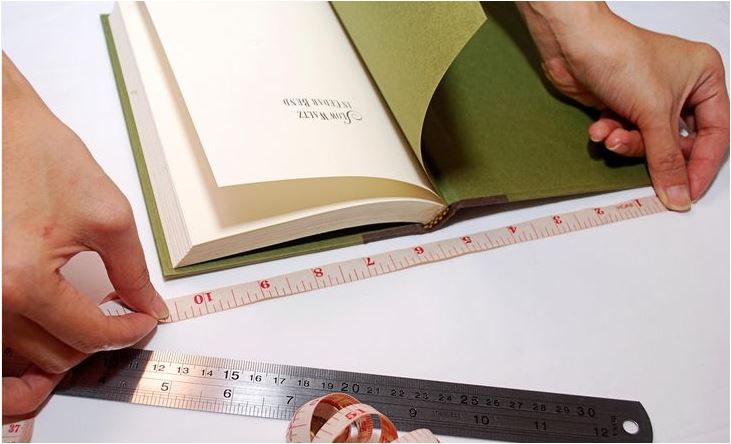
Measure 4.5″ from the bottom of the towel and make sure it was straight.
Step 5:
Stitch on patchwork strip, folding under the very ends of the strip when you get close.
Tote Recycle Bag

Instructions
Step 1:
– Cotton T-shirt (heavy weight fabric & Youth size XL or Adult S or M work best)
~ 3- 5 straight pins
– Pencil or pen
– Dinner plate
-Scissors
– Sewing machine
Step 2:
Choose an old t-shirt and smooth it flat on a table. Cut and remove the sleeves and make sure you leave the seam in place—this keeps your tote strong!
Step 3:
Position a plate about halfway over the neck opening of the shirt. Trace the plate with your pencil or pen. This will be your cutting line to create the opening for your tote bag. Cut along the traced line.
Step 4:
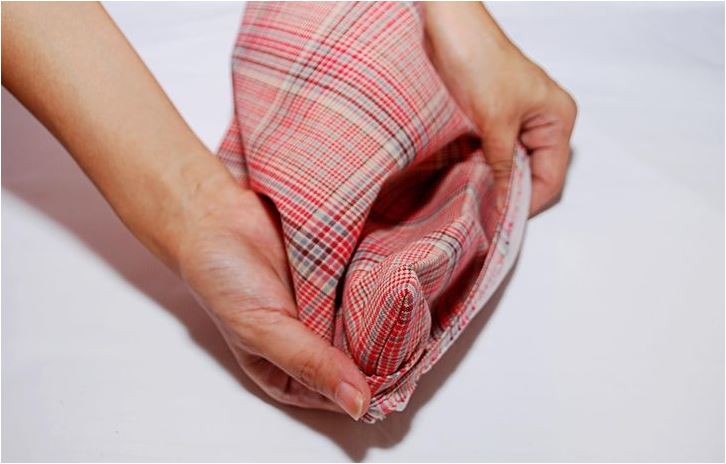
Turn the T-shirt inside out and pin the bottom of the T-shirt along the hem.
Step 5:
Sew the bottom of T-shirt hem closed. Reinforce your tote bag by sewing over this seam a second time!
Step 6:
Turn the shirt right- side- out. YOU just made your own recycled tote bag!
Fill it with groceries, gym clothes, pool supplies, library books, etc! Keep one handy in your car!
T-shirt Totes are Machine Washable, Reusable, and Strong! Just say NO to “paper or plastic”!
Bookmark
Instructions
Step 1:
Cut the scrap fabric into a triangle shape and place it above a bookmark.
Step 2:
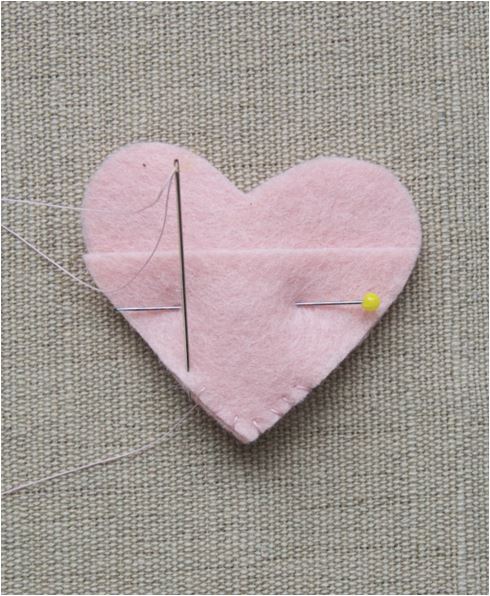
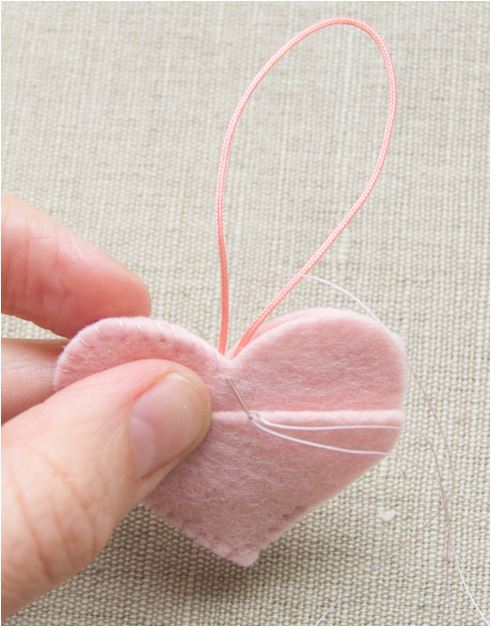
Sew them or glue them into the bookmark.
Step 3
You have yourself a custom made bookmark and it could be a gift too.
Photo Frame

Instructions
Step 1:
All you need a wooden photo frame.
Step 2:
Cut the scrap fabric into strips approximately 1 inch in width and place them on the photo frame and make sure it fits.Then sew the strips together.
Step 3:
Place them again on top of the photo frame and glue it, then cut a square hole in the middle for the picture to be seen.
Keychain

Instructions
Step 1:
First off decide what scraps you’d like to use, and iron on the medium interfacing to the wrong side of the fabric.
Step 2:
If you’re going to do an applique or buttons, trace around your pattern onto the right side of the fabric so that you know how to place it.
Step 3:
Added a quick appliqued C to this one.
Step 4:
Then iron on the Peltex to the wrong side of the fabric according to the directions. Make sure you iron it to the side you want to be the “front” of your key chain.
Step 5:
Cut it out, along with the back of the key chain.
Step 6:
Place wrong sides together, and place two pins about 1″ or so apart on the bottom.
Step 7:
Sew from pin to pin, around the circle, about 1/4″ away from the edge.
Step 8:
Then trim the edges all the way around with pinking shears.
Step 9
Cut a piece of your twill tape or ribbon about 2″ long.
Step 10:
Fold it over your key ring, insert into the opening on the bottom of your key chain, and sew the opening closed, backstitching at the beginning and end.
Map

Instructions
Step 1:
PULL your scrap fabric out. You can just throw them all over the floor for this one. And don’t weed out fabrics if they are unique. I used a fleece for North Dakota (you can use any map you want), a knit for Kansas and a silk in Illinois. It adds some neat dimension to use different fabrics.
Step 2:
Print off the map, in poster size.
Step 3:
There will be a bunch of sheets like above picture.
Step 4:
Tape it together, overlapping and trimming as needed. Now find a piece of fabric that you think represents the state in some way.
Step 5 & 6:
Cut out a piece of heat n bond, large enough for the state and iron it to the back of your fabric.
Step 7:
Let it cool and peel off the backing.
Step 8:
Pin the state to your backed fabric.
Step 9:
Cut it out.
Step 10:
Repeat it as the states in the map as been cut it out.
Step 11:
Then iron to a piece of muslin in its spot. I made sure to cut out one state at a time so I didn’t get any mixed up. Keep going until you have all the states on there!
When they are all ironed on, topstitch around each state.Just remember that because this tedious. Backstitch where necessary to keep your stitches sturdy.
Final Step
Stretched it around a piece of plywood and glued the back.Then glue on a piece of lace on the back and you’re ready to hang it!
Hope these scrap fabric projects gives you some ideas for weekends activity with your loved one this earth day!
HAPPY EARTH DAY!!


 Step 3
 Step 4


